


The art of multiplying houseplants has never been more accessible, requiring little more than a simple vessel filled with water and a willingness to observe nature’s remarkable ability to regenerate. This ancient technique, perfected over generations of indoor gardening enthusiasts, transforms a single stem into an entirely new plant without expensive equipment or complicated procedures. Whether you’re looking to expand your collection, share greenery with friends, or simply experiment with botanical propagation, water rooting offers an elegant solution that anyone can master regardless of their gardening experience.
Understanding the basics of water propagation
The science behind root development in water
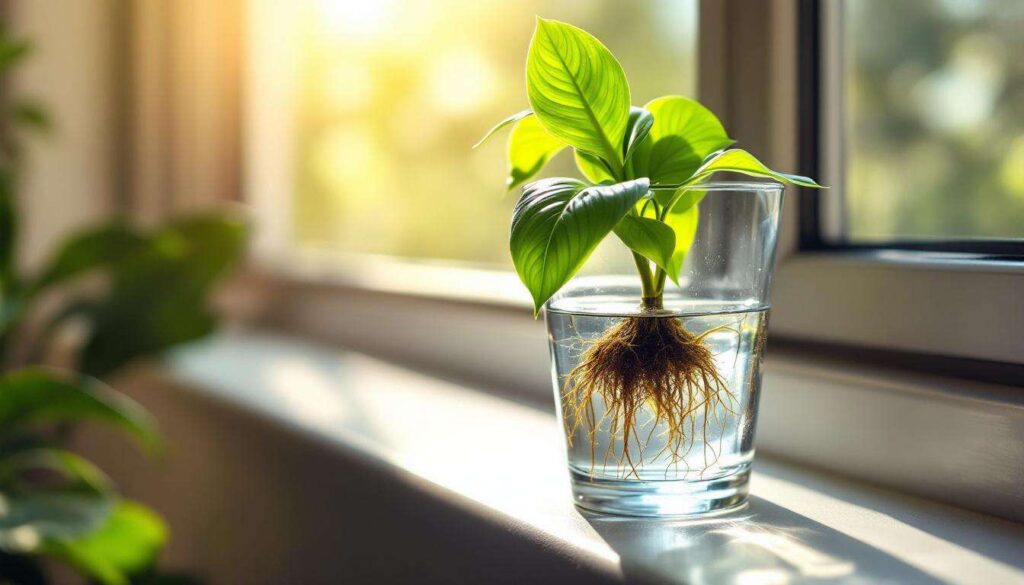
Water propagation relies on a plant’s natural survival mechanisms to generate new root systems when separated from the parent organism. When a cutting is placed in water, the plant recognises the absence of soil and responds by producing adventitious roots directly from stem tissue. These specialised roots emerge from nodes or leaf joints, drawing moisture and nutrients from the surrounding liquid whilst searching for a stable growing medium. The transparent environment allows gardeners to monitor this fascinating process, observing each delicate root hair as it extends and branches.
Which plants respond best to this method
Certain houseplants demonstrate exceptional compatibility with water propagation, making them ideal candidates for beginners:
- Pothos and philodendrons, which root vigorously within days
- Spider plants, producing perfect plantlets on long stems
- Tradescantia varieties, known for their rapid root development
- Monstera species, including the popular deliciosa
- African violets, requiring slightly more patience
- Begonias, which can root from both stems and leaves
Understanding these fundamental principles provides the foundation necessary for selecting appropriate specimens and anticipating their behaviour throughout the rooting process.
Choosing the right time and the ideal plant
Seasonal considerations for maximum success
Whilst water propagation can technically occur year-round, spring and early summer offer optimal conditions when plants naturally enter their active growth phase. During these months, hormonal activity increases, cell division accelerates, and energy reserves reach their peak, all contributing to faster and more reliable root formation. The extended daylight hours and warmer ambient temperatures create an environment where cuttings establish themselves with minimal stress.
Identifying healthy parent plants
Success begins with selecting vigorous, disease-free specimens as your source material. Examine potential parent plants carefully, looking for stems with robust growth, vibrant colouration, and no signs of pest damage or fungal infection. The ideal cutting comes from new growth rather than woody, mature stems, as younger tissue contains higher concentrations of growth hormones and demonstrates greater flexibility in adapting to new conditions.
Recognising the perfect cutting location
The node represents the critical anatomical feature where leaves attach to stems, and from which roots will eventually emerge. Choose sections with at least two or three nodes, ensuring adequate sites for root development. Avoid flowering stems, as the plant’s energy is already directed towards reproduction rather than vegetative growth, potentially compromising rooting success.
Once you’ve identified suitable candidates, gathering the proper materials ensures a smooth propagation experience.
Preparing your propagation materials
Essential items for water rooting
The beauty of this technique lies in its minimal equipment requirements. You’ll need:
- Clean glass containers, jars, or vases with adequate depth
- Sharp, sterilised scissors or pruning shears
- Room-temperature water, preferably filtered or left standing overnight
- Optional rooting hormone powder for stubborn species
- Labels for tracking multiple cuttings
Sterilisation and cleanliness protocols
Maintaining impeccable hygiene prevents bacterial growth and fungal infections that can quickly destroy vulnerable cuttings. Wash all containers thoroughly with hot, soapy water, then rinse completely to remove any residue. Sterilise cutting tools by wiping blades with rubbing alcohol or passing them briefly through a flame, allowing them to cool before use. This simple precaution eliminates pathogens that might enter the plant tissue through fresh wounds.
Water quality considerations
Tap water often contains chlorine, fluoride, and dissolved minerals that can inhibit root development or damage sensitive tissue. Allowing water to stand uncovered for 24 hours permits chlorine to evaporate naturally. Alternatively, use filtered, distilled, or rainwater for best results. The water temperature should match room temperature, as cold water can shock cuttings whilst excessively warm water encourages bacterial proliferation.
With materials assembled and prepared, you’re ready to begin the actual propagation process.
Detailed steps for propagating in water
Making the perfect cut
Using your sterilised cutting tool, make a clean, diagonal cut approximately 5-15 centimetres from the growing tip, positioning the cut just below a node. The angled cut increases the surface area available for water absorption and root emergence. Remove any leaves from the lower portion of the stem that would sit below the waterline, as submerged foliage quickly deteriorates, fouling the water and creating conditions favourable to harmful microorganisms.
Positioning cuttings in water
Place your prepared cutting in the container so that at least one node remains submerged whilst keeping any remaining leaves well above the waterline. If the cutting refuses to stay upright, use the container’s rim for support or create a simple holder from cardboard with holes cut to size. Multiple cuttings can share a container provided they aren’t overcrowded, allowing adequate light and air circulation around each specimen.
Establishing the ideal environment
Position your propagation station in a location receiving bright, indirect light, avoiding direct sunlight that can overheat the water and encourage algae growth. Maintain consistent room temperatures between 18-24°C, steering clear of draughty windows, heating vents, or air conditioning units that create temperature fluctuations.
| Environmental Factor | Optimal Range | Impact on Success |
|---|---|---|
| Light intensity | Bright, indirect | Stimulates growth hormones |
| Temperature | 18-24°C | Affects metabolic rate |
| Humidity | 40-60% | Reduces transpiration stress |
| Water changes | Every 3-5 days | Prevents bacterial growth |
Monitoring and maintenance routines
Change the water regularly, every three to five days, to maintain oxygen levels and prevent stagnation. During water changes, gently rinse the cutting’s stem and inspect for any signs of rot, which appears as brown, mushy tissue. Root development typically begins within one to three weeks, though some species require considerably longer patience.
Beyond these fundamental steps, certain practices can significantly improve your propagation outcomes.
Tips to encourage optimal growth
Enhancing root development naturally
Several techniques can accelerate root formation without resorting to chemical interventions. Gently scraping the outer layer of stem at the cutting base exposes more cambium tissue, the growth layer from which roots emerge. Some gardeners add a willow water solution, created by soaking willow branches in water, which releases natural rooting hormones. Alternatively, a single drop of liquid seaweed extract provides trace minerals that support cellular development.
Addressing common challenges
If cuttings develop yellowing leaves, they may be receiving insufficient light or experiencing nutrient depletion. Cloudy water indicates bacterial growth, requiring immediate replacement and thorough container cleaning. Brown, slimy roots signal rot, necessitating removal of affected tissue and fresh water. Cuttings that refuse to root after six weeks may benefit from re-cutting the stem base and trying again, as the original cut surface can seal over, preventing root emergence.
Maximising success rates
Taking multiple cuttings from the same plant increases your chances of success, as individual specimens respond differently to propagation stress. Group cuttings from similar species together, as they often share environmental preferences. Maintain a propagation journal documenting which plants root quickly and which require extended periods, building knowledge for future attempts.
Once roots reach an appropriate length, the exciting moment arrives to transition your cutting into soil.
Transplanting your successfully propagated cutting
Determining transplant readiness
Cuttings become ready for soil when roots measure 5-8 centimetres in length and display multiple branching points, indicating a robust root system capable of supporting the plant in a new medium. Waiting until roots grow excessively long can make transplanting difficult, as delicate root structures become fragile and prone to damage during handling.
Preparing the potting medium
Select a well-draining potting mix appropriate for your plant species, avoiding heavy garden soil that can compact and suffocate tender roots. Fill a small container with drainage holes, creating a planting hole slightly larger than the root system. Moisten the soil before planting, ensuring it’s damp but not waterlogged.
The transplanting process
Carefully remove the cutting from water, supporting the roots to prevent breakage. Position the plant at the same depth it sat in water, gently spreading roots throughout the planting hole. Fill around the roots with soil, firming gently to eliminate air pockets whilst avoiding excessive compression. Water thoroughly after planting, allowing excess to drain completely.
Post-transplant care essentials
Newly transplanted cuttings require gradual acclimatisation to their new environment. Maintain higher humidity initially by covering the plant loosely with a clear plastic bag or placing it in a humid location. Keep soil consistently moist for the first fortnight, then gradually reduce watering frequency as the plant establishes itself. Avoid fertilising for at least one month, allowing roots to adapt before introducing additional nutrients.
Water propagation democratises plant multiplication, proving that expanding your indoor garden requires neither specialised knowledge nor expensive equipment. By understanding the biological processes at work, selecting appropriate specimens, maintaining clean conditions, and exercising patience throughout the rooting period, anyone can successfully transform a single cutting into a thriving new plant. The transparent simplicity of watching roots emerge and develop provides not only practical benefits but also a profound connection to the remarkable resilience of botanical life.